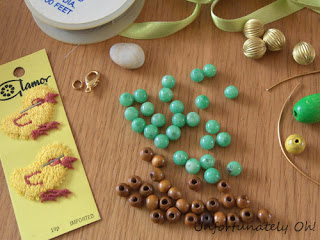
Ages ago, I found some cute chick motifs when clearing out a cupboard. I put them aside in the hope of thinking of a use for them.
Today, I made this ‘Chicken and the Egg’ necklace:
Here’s a quick tutorial on how to make one for yourself!
Time needed: 30~60 minutes
You’ll need:
Chick motif
Egg-shaped bead or similar (I used a stone)
Beads
1 m ribbon (approx)
Bead-stringing wire
Jewellery wire
Crimps
Needle & thread
1 split ring
Pliers (flat nose, round nose and side cutters)
1. First off, wrap your ‘egg’ with wire (see my agate necklace tutorial). Start by making the bails for the top and bottom of the egg...
2. ...then wrap it. At the back, I bent the end of the wire underneath itself so it won’t catch on anything.
3. Cut a piece of wire longer than you want the beaded section to be:
(height of motif x2) + (length of beaded section) + 1~2 inches
Attach the split ring to the end of the bead-stringing wire with two crimps, spacing the crimps out. The distance between the bottom crimp and the top of the split ring should be slightly smaller than the height of your chick motif.
4. Thread on your beads. I went for a mixture of modern wooden beads, old green beads, plus a couple of gold ones to balance out the yellow of the chick.
5. Use a crimp to fix the other end of the bead-stringing wire to the bottom of your wire-wrapped ‘egg’. Cut off any excess wire.
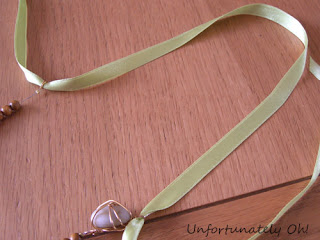
6. Thread your ribbon through the split ring...
7. ...and the top bail of the ‘egg’, leaving enough ribbon in between to slip your head through.
8. Tie the ends of the ribbon together in a bow.
9. Sew your motif onto the exposed section of bead-stringing wire and the split ring.
And you’re done!
Linking up at:


No comments:
Post a Comment
Reading all your sweet comments makes me happy! :) I appreciate each and every one and try to reply to all that I can!